


Which Manufacturing Process Should I Choose for My Prototype?
Choosing a manufacturing process for a prototype depends on what you need the prototype to prove.
If the goal is to check the shape and appearance of a product, 3D printing may be sufficient. If you need to test mechanical performance with a production-grade material, CNC machining may be more appropriate. If the prototype needs to closely represent an injection molded production part, prototype tooling or low-volume injection molding may be worth considering.
There is therefore no single “best” prototype manufacturing process.
The right choice depends on several factors, including prototype purpose, material, quantity, geometry, dimensional requirements, surface finish, functional requirements, development stage, and budget.
The main prototype manufacturing methods include:
- 3D printing
- CNC machining
- Vacuum casting
- Sheet metal fabrication
- Prototype injection molding
- Low-volume manufacturing
- Hybrid manufacturing approaches
This guide explains how these processes work, what each one is suitable for, and how to select a manufacturing method for your prototype.
Which Prototype Manufacturing Process Should I Choose?
A simple way to approach the decision is to start with the primary purpose of the prototype.
| Prototype Requirement | Commonly Suitable Process |
|---|---|
| Check basic shape and size | 3D printing |
| Test complex geometry quickly | 3D printing |
| Test mechanical properties | CNC machining |
| Use production-grade metal | CNC machining |
| Test realistic plastic parts | CNC machining or vacuum casting |
| Produce several identical prototypes | 3D printing, CNC machining, or vacuum casting |
| Prototype sheet metal components | Sheet metal fabrication |
| Test an injection molded design | Prototype tooling or injection molding |
| Produce a small batch before mass production | Low-volume manufacturing |
| Evaluate appearance and surface finish | CNC machining, vacuum casting, or selected 3D printing processes |
| Validate assembly and fit | CNC machining or 3D printing |
| Test final material behavior | Process using the intended production material |
The important distinction is between what the prototype looks like and what the prototype needs to demonstrate.
A visually accurate prototype does not necessarily behave like the final production part. Likewise, a highly accurate CNC prototype may not reproduce the shrinkage, texture, or material behavior of an injection molded component.
What Is a Prototype?
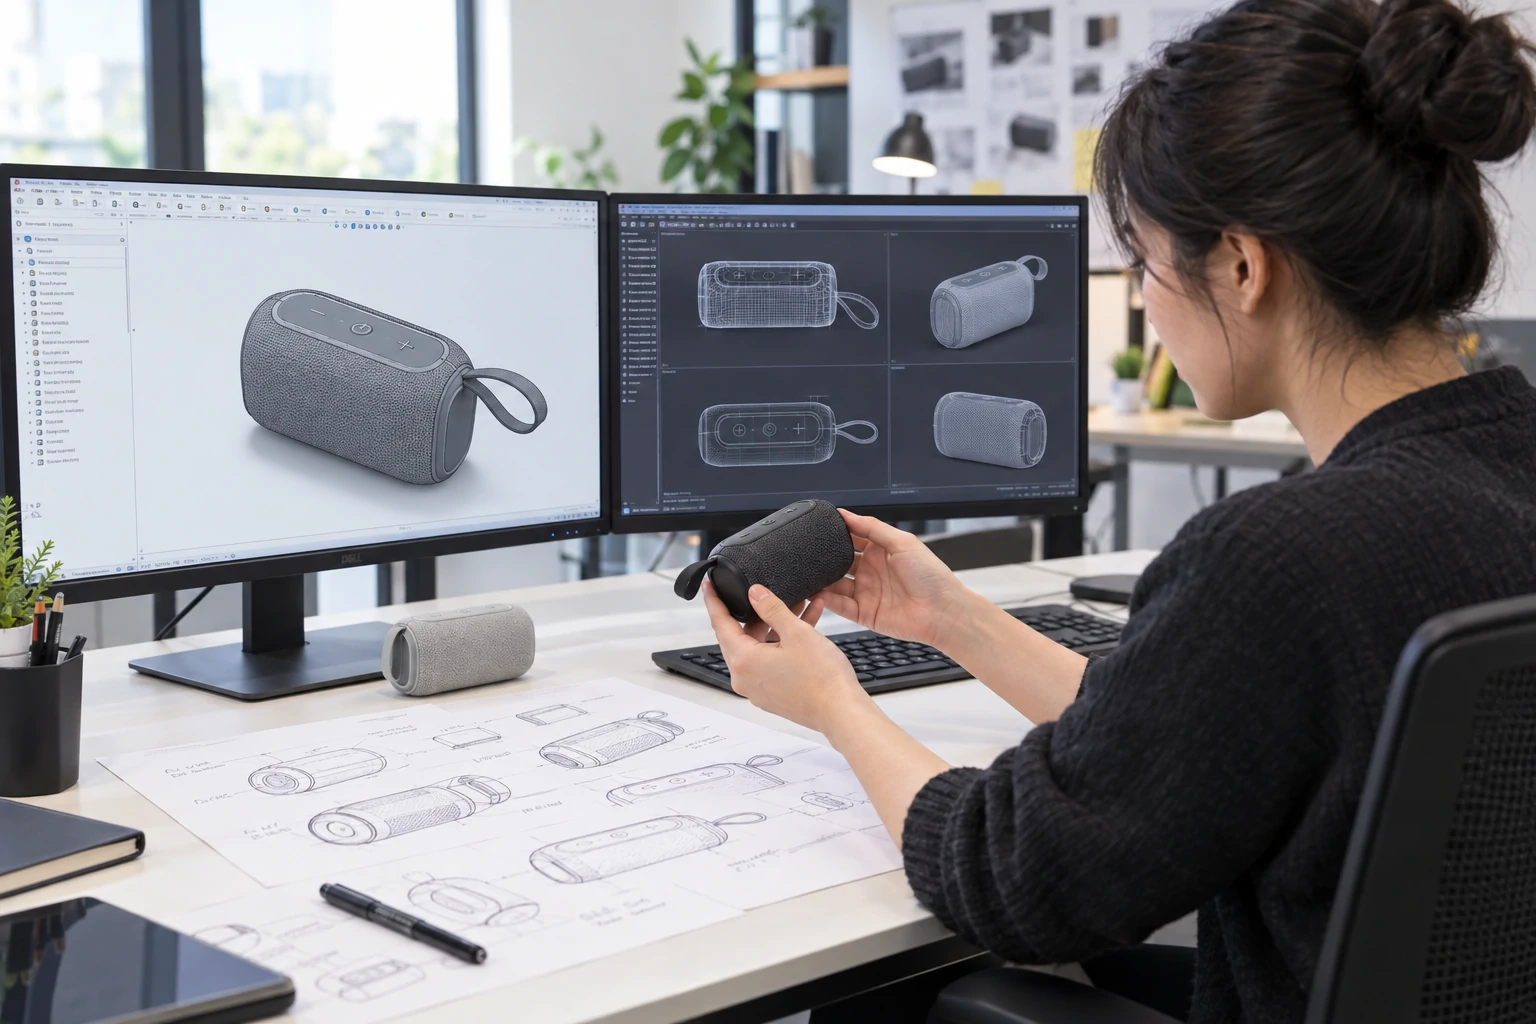
A prototype is a physical or functional representation of a product or component used to evaluate an idea before full-scale production.
A prototype can serve many different purposes.
For example, engineers may use prototypes to evaluate:
- Form
- Fit
- Function
- Ergonomics
- Assembly
- Mechanical performance
- Material behavior
- Appearance
- Manufacturing feasibility
Because these objectives are different, prototype manufacturing should begin with a clear definition of what needs to be validated.
Appearance Prototype
An appearance prototype is primarily used to evaluate:
- Shape
- Proportions
- Color
- Texture
- Surface appearance
- Ergonomics
The prototype may not require the same material or mechanical properties as the final product.
Fit and Assembly Prototype
A fit prototype is used to determine whether components:
- Assemble correctly
- Have sufficient clearance
- Align properly
- Interface with other components
- Can be installed or removed as expected
Dimensional accuracy becomes more important for this type of prototype.
Functional Prototype
A functional prototype is designed to behave similarly to the intended production product.
It may need to withstand:
- Mechanical loads
- Heat
- Chemical exposure
- Repeated movement
- Friction
- Pressure
- Impact
For functional prototypes, the manufacturing process and material can have a significant influence on the validity of the test.
The Six Main Factors for Choosing a Prototype Manufacturing Process
Before selecting a process, consider these six questions:
- What does the prototype need to prove?
- What material should it use?
- How many prototypes are required?
- How complex is the geometry?
- What accuracy and surface finish are required?
- How closely must the prototype represent the final production process?
These questions usually narrow down the available manufacturing methods considerably.
1. 3D Printing for Prototypes

3D printing, also known as additive manufacturing, creates parts by building material layer by layer from a digital model.
It is one of the most commonly used methods for rapid prototyping because parts can often be produced directly from CAD data without conventional tooling.
Common technologies include:
- FDM
- SLA
- SLS
- MJF
- SLM/DMLS and other metal additive processes
Different technologies produce significantly different material properties and surface finishes.
When Should You Choose 3D Printing?
3D printing is often suitable when you need to:
- Quickly evaluate a design
- Produce complex geometries
- Create prototypes with internal features
- Test basic fit and assembly
- Make very small quantities
- Modify the design frequently
One of its biggest advantages is that changing the design usually involves modifying the digital model rather than manufacturing new tooling.
Advantages of 3D Printing
Fast Design Iteration
A revised CAD model can generally be used to produce another prototype without making a new mold.
Complex Geometries
Additive manufacturing can produce geometries that are difficult or impossible to manufacture using conventional subtractive processes.
Low Initial Tooling Requirements
Most 3D printing applications do not require a dedicated production mold.
Small Quantities
3D printing can be economical when only one or a few prototypes are required.
Limitations of 3D Printing
3D printed parts do not always behave like traditionally manufactured production components.
Depending on the technology, limitations may include:
- Layer lines
- Anisotropic mechanical properties
- Surface roughness
- Material limitations
- Post-processing requirements
- Dimensional variation
For example, a printed plastic housing may demonstrate the general shape and assembly of a product but may not accurately represent the performance of an injection molded housing.
2. CNC Machining for Prototypes
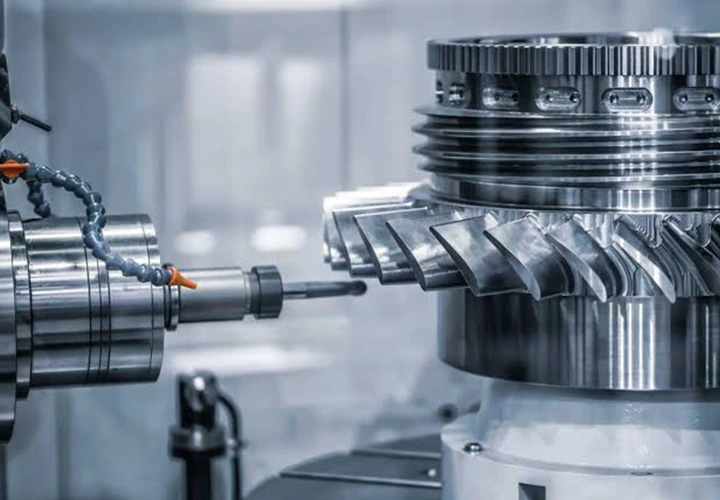
CNC machining is a subtractive manufacturing process in which material is removed from a solid workpiece using computer-controlled cutting tools.
It can produce prototype components from materials such as:
- Aluminum
- Stainless steel
- Steel
- Brass
- Copper
- Titanium
- POM
- Nylon
- PEEK
- Other engineering plastics
When Should You Choose CNC Machining?
CNC machining is often a good choice when the prototype needs:
- Production-grade materials
- High dimensional accuracy
- Good surface finish
- Mechanical strength
- Functional testing
- Tight interfaces
- Metal construction
For example, if an aerospace component needs to be tested under mechanical loading, a CNC-machined aluminum prototype may provide more relevant information than a polymer 3D print.
Advantages of CNC Machining
Real Engineering Materials
One major advantage is the ability to manufacture prototypes from the same or similar material intended for production.
Dimensional Accuracy
CNC machining can produce precise features and interfaces when the part design and manufacturing requirements are appropriate.
Surface Finish
Machined surfaces can provide a finish closer to many conventionally manufactured production components than typical FDM printing.
Functional Testing
CNC machining is suitable for prototypes that need to withstand real mechanical loads or interact with other components.
Limitations of CNC Machining
CNC machining is not ideal for every geometry.
Potential limitations include:
- Tool accessibility
- Internal corners
- Deep cavities
- Material waste
- Machining time
- Fixture requirements
- Higher cost for highly complex geometries
The design may also need to be modified to accommodate cutting tools and workholding.
3. Vacuum Casting for Prototypes
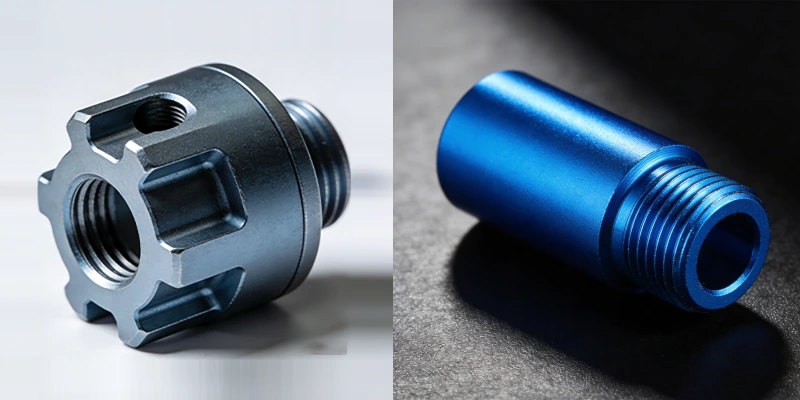
Vacuum casting, also called polyurethane casting, uses a master pattern to create silicone molds and then casts polyurethane or other suitable materials into those molds.
It is commonly used when several prototypes with similar appearance and properties are required.
When Should You Choose Vacuum Casting?
Vacuum casting can be useful when you need:
- Multiple similar prototypes
- High-quality surface appearance
- Flexible or rigid polyurethane parts
- Different colors
- Realistic product samples
- Short-run prototypes
It can reproduce many surface details from the master pattern and can provide prototypes that are visually closer to molded products than some additive manufacturing methods.
Advantages of Vacuum Casting
Vacuum casting can provide:
- Good surface detail
- Multiple parts from one master pattern
- A range of polyurethane properties
- Good appearance
- Relatively low tooling investment compared with production injection molds
Limitations of Vacuum Casting
The silicone mold has a limited service life.
The process is therefore generally better suited to prototype and short-run production rather than very high-volume manufacturing.
In addition, cast polyurethane is not necessarily identical to the production thermoplastic that would be used in injection molding.
This distinction matters when the prototype is being used for mechanical or long-term performance testing.
4. Sheet Metal Fabrication for Prototypes

For products made from sheet metal, additive or subtractive plastic prototyping may not accurately represent the final product.
Sheet metal prototypes can be manufactured using processes such as:
- Laser cutting
- CNC bending
- Punching
- Welding
- Forming
- Riveting
When Should You Choose Sheet Metal Fabrication?
This process is appropriate when the final product is primarily made from sheet metal and you need to evaluate:
- Structural strength
- Assembly
- Bending geometry
- Mounting interfaces
- Enclosures
- Brackets
- Panels
A sheet metal prototype can provide much more meaningful information than a plastic prototype when the final product depends on metal thickness, bending behavior, stiffness, or welded construction.
5. Injection Molding for Prototype
.webp)
Injection molding uses a mold to form plastic parts by injecting molten polymer into a cavity.
Traditional production tooling can require significant upfront investment, which is why injection molding is not always the first choice for an early prototype.
However, prototype injection molding or simplified tooling can become useful when the prototype needs to closely resemble the intended production part.
When Should You Choose Injection Molding?
Consider injection molding when you need to evaluate:
- Production-grade thermoplastic behavior
- Actual molded geometry
- Parting lines
- Gate locations
- Ejection
- Surface texture
- Molded assembly interfaces
- Production-like parts
It can also be appropriate when a project has already passed early design validation and is moving toward production.
Advantages of Injection Molding Prototypes
The biggest advantage is that the prototype is manufactured using a process that closely represents the eventual production process.
This can reveal issues that other prototype methods may not show, including:
- Warpage
- Sink marks
- Weld lines
- Shrinkage
- Mold filling behavior
- Ejection issues
Limitations
The main limitation is tooling investment.
Compared with 3D printing, injection molding usually requires more preparation and a higher initial cost.
For this reason, it is generally more appropriate when the design is relatively mature or when the benefits of production-representative parts justify the tooling investment.
6. Low-Volume Manufacturing
Low-volume manufacturing sits between prototyping and full-scale production.
It is useful when a product requires more than a few prototypes but does not yet justify large-scale production.
Depending on the product, low-volume manufacturing can use:
- CNC machining
- 3D printing
- Vacuum casting
- Injection molding
- Sheet metal fabrication
- Hybrid processes
Low-volume manufacturing can be useful for:
- Beta testing
- Field testing
- Customer evaluation
- Pilot production
- Pre-production validation
At this stage, the focus often shifts from simply proving the design to evaluating how the product performs in realistic use.
How Does Prototype Quantity Affect Process Selection?
The number of prototypes required can significantly influence the economics of a manufacturing process.
1–5 Prototypes
3D printing and CNC machining are often practical choices.
5–50 Prototypes
The most suitable process depends strongly on geometry, material, and quality requirements.
CNC machining, 3D printing, and vacuum casting may all be considered.
Dozens to Hundreds
At higher quantities, tooling-based processes can become more attractive.
Injection molding may make sense when the design is stable and the material and production process need to resemble the final product.
These numbers are not strict rules. The break-even point depends on part size, complexity, material, tooling cost, and required quality.
How Does Material Affect Prototype Manufacturing?
Material selection should be based on the purpose of the prototype.
For example:
Need to check appearance?
A material with similar color and surface characteristics may be sufficient.
Need to test strength?
A material with comparable mechanical properties is more important.
Need to test heat resistance?
The prototype material should have an appropriate temperature-performance range.
Need to validate final production behavior?
Using the intended production material and process may be necessary.
This is why the phrase “prototype material” can be misleading.
A prototype can be visually representative without being materially representative.
How Does Geometry Affect the Manufacturing Process?
Part geometry is another major factor.
Simple Geometry
Simple brackets, plates, blocks, shafts, and housings can often be manufactured using CNC machining.
Complex Freeform Geometry
Complex external surfaces and internal structures may be easier to produce using 3D printing.
Thin-Walled Parts
Thin walls can present challenges for both machining and molding.
The appropriate process depends on the required material, dimensions, and function.
Deep Internal Features
Deep cavities or enclosed channels may be difficult to machine because cutting tools need physical access.
Additive manufacturing may provide greater geometric freedom in some applications.
Undercuts
Undercuts can increase the complexity of CNC machining and injection mold design.
The best process depends on whether the undercut is required for the prototype itself or only appears because of the intended production process.
What About Prototype Tolerances?
Prototype tolerances should be based on function rather than simply trying to achieve the smallest possible number.
Ask:
- Which dimensions affect assembly?
- Which surfaces need to contact?
- Which holes require accurate positioning?
- Which dimensions affect movement?
- Which features affect sealing?
- Which dimensions are cosmetic?
A prototype does not necessarily need production-level tolerances on every dimension.
For example, an enclosure prototype used only to evaluate overall appearance may not need the same dimensional control as a prototype used to test a precision mechanical assembly.
Over-specifying tolerances can increase manufacturing cost without providing additional useful information.
Prototype Surface Finish
Surface finish can also influence process selection.
A prototype intended for engineering testing may not need a cosmetic finish.
A prototype intended for:
- Customer demonstrations
- Photography
- Marketing
- Ergonomic evaluation
- Product design review
may require much more attention to appearance.
Different manufacturing processes naturally produce different surface characteristics.
CNC machining can provide smooth machined surfaces, while 3D printing may require sanding, polishing, coating, or other post-processing.
Vacuum casting can reproduce the surface characteristics of the master pattern, while injection molding can reproduce the texture incorporated into the mold.
Prototype Manufacturing Process Comparison
The following comparison provides a general starting point:
| Process | Typical Strength | Material Options | Geometry | Quantity | Tooling |
|---|---|---|---|---|---|
| 3D Printing | Low to medium, depending on technology | Broad | Very high geometric freedom | 1–small batches | Usually none |
| CNC Machining | High | Broad | Medium to high | 1–small/medium batches | None |
| Vacuum Casting | Medium, material dependent | Mainly polyurethane systems | High | Small batches | Silicone mold |
| Sheet Metal | High | Various metals | Sheet-based geometry | Small to medium batches | Usually low |
| Injection Molding | Production-representative | Thermoplastics | High | Medium to high | Production mold |
| Low-Volume Manufacturing | Process dependent | Process dependent | Process dependent | Small to medium batches | Depends on process |
These categories are generalizations. Actual capabilities vary significantly by material, machine, equipment, design, and manufacturer.
Prototype Manufacturing: A Practical Decision Process
If you are unsure which process to choose, the following sequence can simplify the decision.
Step 1: Define What You Need to Validate
Start with the question:
What decision will this prototype help me make?
Is it:
- Does the design look right?
- Does it fit?
- Can the components assemble?
- Does it work mechanically?
- Can users operate it comfortably?
- Can it survive real operating conditions?
- Can it be manufactured at scale?
The answer determines the type of prototype you need.
Step 2: Identify the Required Material
Determine whether you need:
- A visual substitute
- A similar engineering material
- The actual production material
This can immediately eliminate some manufacturing processes.
Step 3: Determine the Quantity
One prototype and one hundred prototypes may require completely different economic calculations.
Step 4: Identify Critical Dimensions
Mark the dimensions that affect:
- Assembly
- Movement
- Sealing
- Structural performance
- Interfaces
These are the dimensions that should receive the most attention during manufacturing and inspection.
Step 5: Consider the Final Production Process
Ask:
Does the prototype need to behave like the final production part?
If the answer is yes, using a manufacturing process similar to the intended production process can provide more relevant validation data.
For example, an injection molded production component may require injection molded prototypes for certain tests because the molding process itself affects shrinkage, warpage, surface texture, and material behavior.
Step 6: Compare Total Cost and Development Time
Do not consider only the price of one prototype.
Consider:
Prototype Cost + Tooling + Post-Processing + Inspection + Iterations + Lead Time
A cheaper prototype that requires several redesign cycles may ultimately cost more than a more representative prototype produced through a different process.
Can One Product Use Multiple Prototype Manufacturing Processes?
Yes.
In fact, using different processes at different development stages is common.
For example:
Stage 1 — Concept
3D printing can be used to quickly evaluate the overall shape.
↓
Stage 2 — Fit and Assembly
CNC machining or higher-accuracy 3D printing can be used to validate interfaces.
↓
Stage 3 — Functional Testing
CNC machining or another process using appropriate engineering materials can be used for mechanical testing.
↓
Stage 4 — Production Validation
Prototype injection molding or low-volume production can be used to evaluate production-representative parts.
This approach allows each prototype to answer a specific engineering question instead of requiring one prototype to validate everything at once.
Common Mistakes When Choosing a Prototype Process
Choosing the Cheapest Process Automatically
The cheapest manufacturing process may not produce the information you actually need.
If a prototype needs to withstand mechanical loads, a low-cost visual prototype may provide very little useful data.
Focusing Only on Appearance
A prototype that looks exactly like the final product may still behave very differently.
Material and manufacturing process can be just as important as geometry.
Using Production Tolerances Everywhere
Not every dimension needs an extremely tight tolerance.
Specify tighter tolerances where they have a functional purpose.
Ignoring the Final Manufacturing Process
If the final product will be injection molded, CNC machining the prototype may not reveal molding-specific problems.
Likewise, a 3D printed prototype may not reveal issues related to machining or sheet metal fabrication.
Making the Prototype Too Late
Prototyping is most valuable when the design can still be changed.
Finding a major design problem before production tooling is usually much easier to manage than discovering it after production has started.
Frequently Asked Questions
Is 3D printing or CNC machining better for prototypes?
Neither process is universally better. 3D printing is often useful for fast iterations and complex geometries, while CNC machining is often better when production-grade materials, dimensional accuracy, surface finish, or mechanical testing are important.
What is the fastest prototype manufacturing method?
For many simple prototypes, 3D printing can provide a short path from CAD data to a physical part because dedicated tooling is usually not required. Actual lead time depends on part size, technology, material, post-processing, and production capacity.
Is CNC machining suitable for one prototype?
Yes. CNC machining can be used to manufacture individual prototypes, particularly when the prototype needs engineering materials, accurate interfaces, or functional mechanical performance.
When should I use injection molding for a prototype?
Injection molding becomes more relevant when the design is sufficiently mature and the prototype needs to represent the intended production material and molding process, or when a larger number of identical parts is required.
What is the cheapest prototype manufacturing process?
There is no universal cheapest process. The total cost depends on part size, quantity, material, geometry, finishing, tooling, and required accuracy.
Should my prototype use the same material as the final product?
Not always. If the prototype is only being used for visual or basic fit evaluation, a different material may be acceptable. For functional or performance testing, however, using the final material—or a material with sufficiently similar properties—may be important.
How many prototypes should I make?
The appropriate number depends on what you are validating. A single prototype may be sufficient for an initial design check, while several units may be necessary for assembly testing, user evaluation, process validation, or statistical testing.
Final Thoughts
Choosing a prototype manufacturing process is essentially a question of what you need to learn from the prototype.
3D printing is often useful for rapid design iterations and complex geometries. CNC machining is well suited to precise functional prototypes and production-grade materials. Vacuum casting can provide multiple realistic-looking plastic prototypes, while sheet metal fabrication is appropriate for metal enclosures and formed components. Prototype injection molding becomes more relevant when production materials and molding behavior need to be evaluated.
There is no universal prototype manufacturing method.
The most effective approach is to match the manufacturing process to the validation objective:
Form → Fit → Function → Material → Production Validation
As the product moves closer to production, the prototype should generally become more representative of the final product and its intended manufacturing process.
By defining the purpose of the prototype first, then considering material, geometry, quantity, tolerances, surface finish, and production requirements, engineers and product developers can select a manufacturing process that provides useful information without unnecessary cost or complexity.